To Set an OUT Gate’s Parameters
This section assumes a Gate has been drawn and that the Edit Gate dialog box is displayed at the Parameters tab.
- Enter a meaningful name for the new gate in the Name box.
- To link the gate to the required data profile, from the Control profile drop-down, choose a Gate Control Profile.
- To specify when waiting pedestrians Step into an occupied gate, choose the Immediately option or the Wait until occupier moves option.
- In the Link Options OUT
panel, select either:
- Revert to final destination (Entities will proceed to their Final Destination)
- Specify links
- If you select Specify link, click on the Links from OUT gate tab and add your target objects manually following the steps in Linking Methods).
- If it is necessary to test the model against required regulatory flow, then you can set the flow through the Gate not to exceed a specified maximum (i.e., go to the Flow Rate Limiting OUT section, tick the Maximum box, and enter a value for people/minute in the adjacent field).
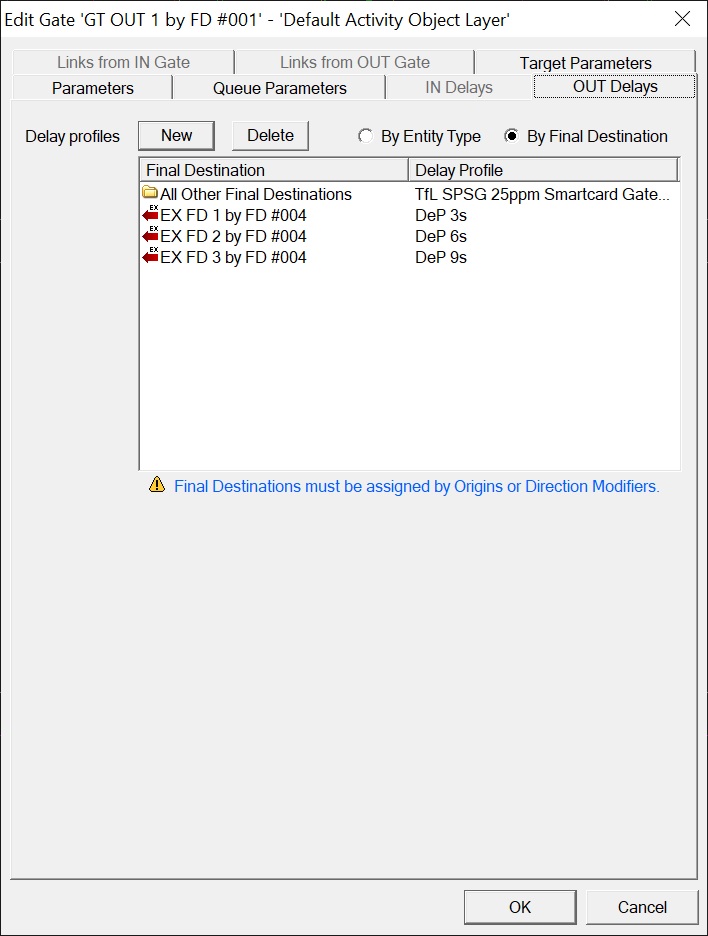
- Open the OUT Delays tab.
- Delay Profiles may be assigned by Entity Type or Final Destination. Tab content depends on the selection:
- Assign the default Delay Profile. This is the profile all, or most, entities will use. It is the top row of the Delay Profiles table.
- To add a Delay Profile for a specific Entity Type or Final Destination, click the New button to add a new row to the Delay profiles table.
- In that table, double-click in the lefthand column (Entity Type or Final Destination).
- Double-click in the adjacent Delay Profile column and choose a profile from the drop-down.
- Repeat steps 9 to 11 for any new combinations of Entity Type/Final Destination and Delay Profile needed.
- To remove a Delay Profile
assignment, select the relevant row in the Delay Profiles table then click the
Delete button. Multiple rows can be selected using the Ctrl and Shift keys.
Tip: For more information, see Delay Profiles . Delay Profiles must exist to be associated with Gates.
- Open the Target Parameters tab. Entities automatically navigate towards the Focal Point of an object if, and when, they cannot see it due to obstructions. In rare instances, this may cause them to move in an unexpected or illogical manner. To remedy this, untick Use focal point for navigation. In this case, Entities will navigate towards the closest point on the Focal Segment.
- Click OK.